ゴール 参考 1. インストール 2. 設定ファイルを作成 3. フォーマット用のコマンドを作成 4. VSCodeの設定 4-1. 拡張機能のインストール 4-2. 拡張機能に設定ファイルを参照させる
ゴール
- コマンドでフォーマットを実行できること
- VSCodeの設定ができること
npx create-remix@latestを使って作成したアプリケーションには、ESLintは既に入っている。
参考
- 公式ドキュメント:
 Install · Prettier
 - ESLintとの違い:📄
 ESLint/Prettierとは何か、両者の違いについて解説
1. インストール
まずはPrettierをインストール。
yarn add --dev --exact prettier2. 設定ファイルを作成
上記によるといろいろな拡張子をサポートしているが、
コメントを残せたりサジェストが効きやすい .jsの拡張子が個人的におすすすめ。
touch .prettierrc.js中身は空でもデフォルトの設定が使われるので問題ない。
3. フォーマット用のコマンドを作成
yarnから実行できるコマンドを package.jsonに作成する。
{
  "name": "sample",
  "private": true,
  "sideEffects": false,
  "type": "module",
  "scripts": {
    "build": "remix vite:build",
    "dev": "remix vite:dev",
    "lint": "eslint --ignore-path .gitignore --cache --cache-location ./node_modules/.cache/eslint .",
    "start": "remix-serve ./build/server/index.js",
    "typecheck": "tsc",
    "format": "prettier app --write" // これを追加
  },
// 略
すると
yarn run formatの実行で、自動でファイルがフォーマットされる。
4. VSCodeの設定
4-1. 拡張機能のインストール
4-2. 拡張機能に設定ファイルを参照させる
Macの場合 Command + ,で設定ページが開くので、
検索窓で「prettier」と検索する。
「Prettier: Config Path」という設定が、prettierの設定ファイル参照先なので
ここを2の手順で作成した設定ファイルへのパスに書き換える。
今回はルートディレクトリ直下に .prettierrc.jsを作成したので、以下のように設定する。
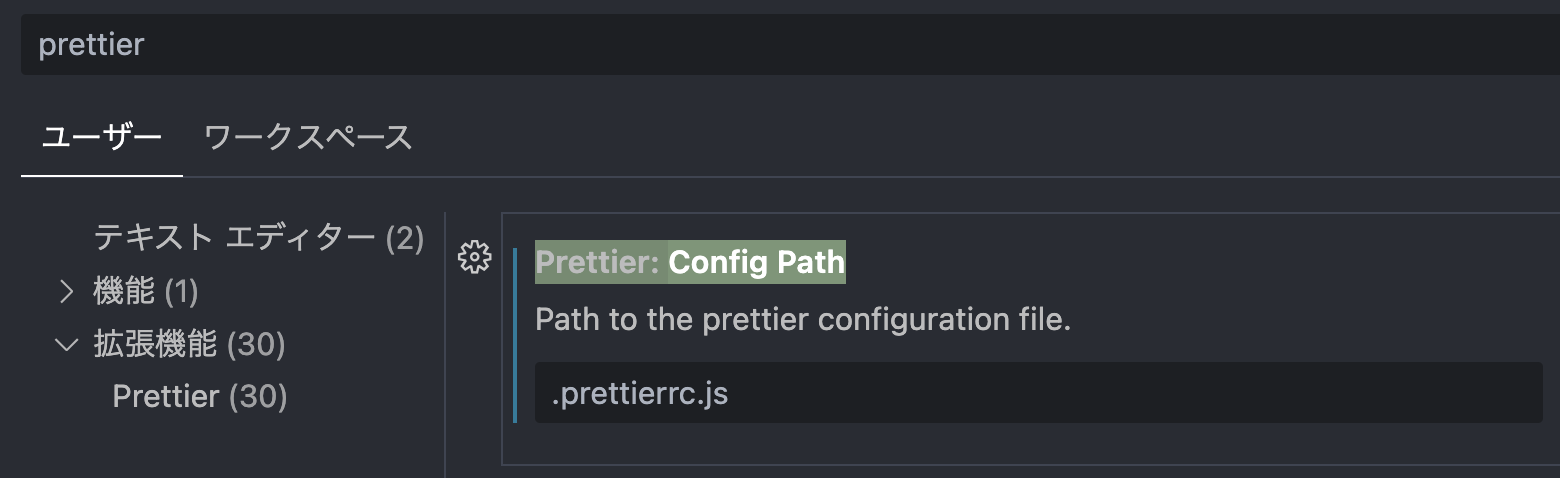
ユーザー単位で設定するものは「ユーザー」タブ。
ディレクトリ単位で設定するものは「ワークスペース」タブ。